Marianne’s comments
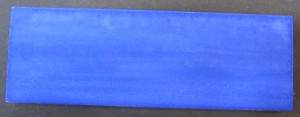
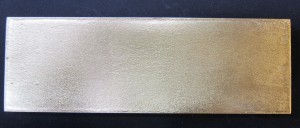
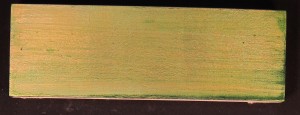
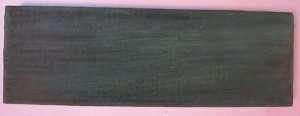
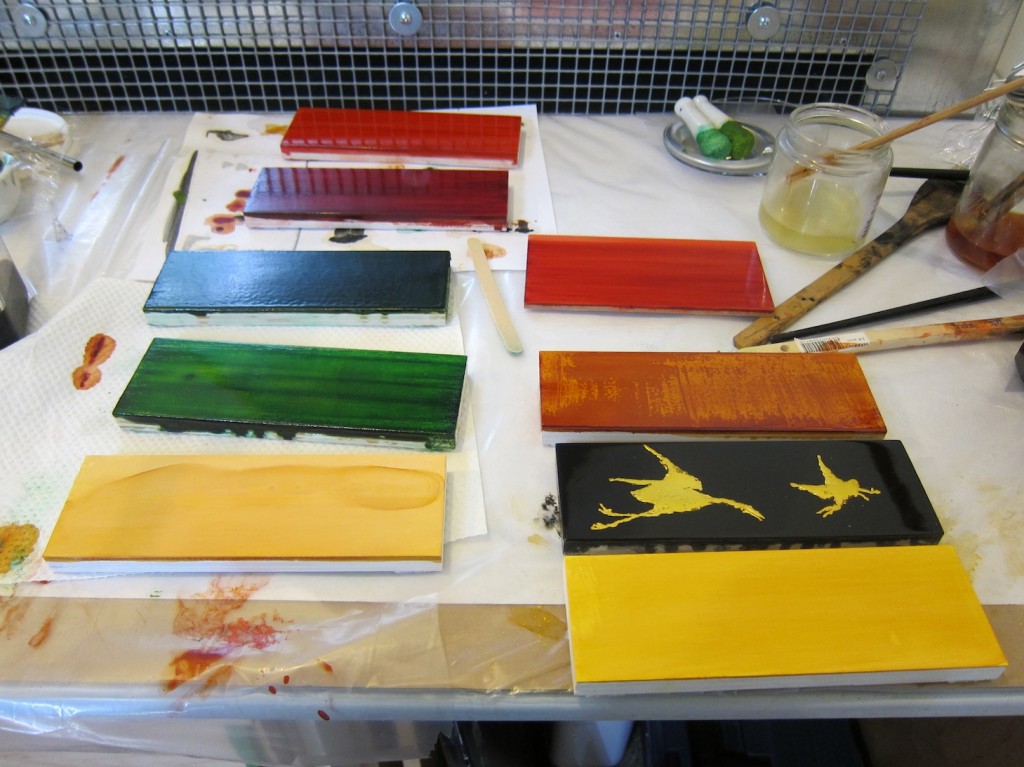
As you can see from the photograph above, the boards are really looking spectacular.
Today I will catch up on one of the comments I have received. Miho Kitagawa writes that she feels the addition of Venetian turpentine to the seedlac in Stalker and Parker’s black Japan recipe creates thicker layers than seedlac alone. She says perhaps it is better to fill the small dents, holes, and wood grain. It may also give a glossier surface than ordinary seedlac.
At this point there is very little difference in appearance between Jonas’s black panels with and without V. turpentine. They were made according to instructions that the six layers containing V. turpentine are to be covered with six more layers of seedlac on top, which may account for their similar appearance. It will be interesting to see if there is any difference when they are polished. In the long term the Venetian turpentine layers probably act as a plasticizer and will affect the aging characteristics. We will have to revive the blog again in 20 years for the definitive answer.
Jonas’s Post Day 8
Reconstructing blue lacquer (Stalker and Parker) continuation
The next step in reconstructing this lacquer is to sand the surface smooth with p600 grid sandpaper. After sanding the surface of the panel we hope to have homogeneous blue colour, leaving no visible brushstrokes. Next three layers of Isinglass size were applied. I assume the purpose of these layers is to act as a buffer between pigmented bottom layers and the layers of white varnish .
Reconstructing green lacquer (Robert Dossie)
The recipe concerning this lacquer contains several possibilities to make this varnish.
First one could use the King’s yellow mixed with Prussian blue. On the other hand one can use King’s yellow or Dutch pink mixed with verdigris. We those chose to reconstruct this lacquer using the second option. In this case we will not be using the King’s yellow because of the toxicity of this pigment. This yellow is chemically As2S3 (Arsenic trisulfide) and is also known as orpiment or auripigment. This last name refers to its mineral state because it resembles a golden colour. Instead of the King’s yellow we will be using Dutch pink. In contradiction to its name pink was in these days known in English literature as a yellow colour. It is only during recent times that the word pink has been used to describe a rose pink or light red colour. Judging by many references from the seventeenth century to this pink they point out that this pigment was made by unripe buckthorn berries ( genus Ramnus) but there are some exceptions like: weld, Genestella tinctoria (a variety of broom) or from “calcined egg shells and white roses make a rare pink that never starves” For more information concerning this pigment I suggest consulting:
Harley. R.D. Artists’ Pigments c. 1600-1835 “a Study in English Documentary Sources”. Butterworth Scientific. London, 1982.
Furthermore R. Dossie leaves the choice to the practitioner to mix the pigments with the white varnish or with seedlac varnish. We chose to make two sample boards to see the difference between these two lacquers. The actual lacquer should be applied on a gilded surface to enhance the colour, like the recipe says: “…and they should be laid on a ground of leaf gold, which renders the colour extremely brilliant and pleasing.” The two pigments were ground in the lacquer using a mortar. We did this because the particle size of the verdigris was in our opinion too large to cover the surface homogeneously. First the verdigris pigment was added to the mixture and ground into the lacquer; afterward the Dutch pink was added until a nice green was obtained. When the composition of the lacquer was completed the mixture was applied to the surface of the panel in four separate layers, giving the surface a homogenous green colour.
Reconstructing white lacquer (Stalker and Parker) continuation
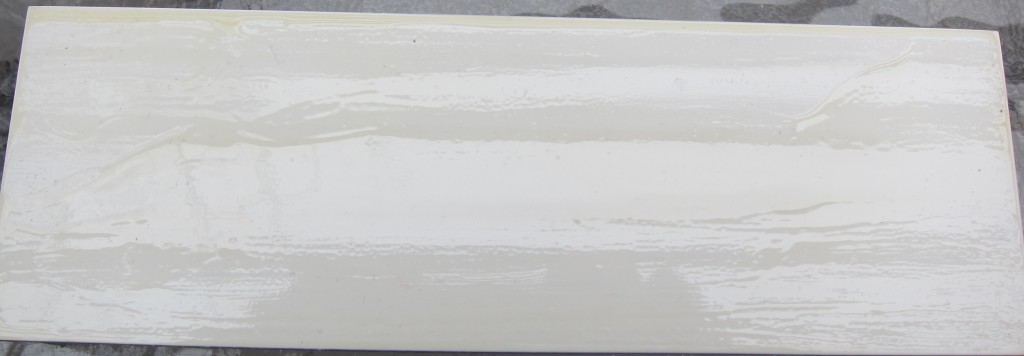
First another sanding procedure was carried using the p600 grid sandpaper before the white lacquer varnish was applied. The first three layers gave actually a really fine result, but the following layers gave suddenly a really bad appearance. On the surface there was some kind of tension making edgy lines. These lines did occur several minutes after application and I believe this has nothing to do with possible brushstrokes because the lines were formed afterwards. For the next day another sanding procedure is planned by which we will sand all these irregularities out, hoping that the following layers will give a better appearance to the surface.

