Marianne’s Comments:
In response to yesterday’s blog Miho Kitagawa says that the Manila Copal we used in the S&P Best White varnish was not available in Europe at the time S&P were writing. She felt that Zanzibar copal, which is no longer available, might have been used.
In response to my question about the best substitute she wrote:
“About the copal, this is the biggest problem to get good substitute, because even we don’t know what the original must be. The Zanzibar copal mentioned in Livache & McIntosh book, was taken out from Trachilobium Hornemannianum. I have looked at the internet and it’s in a same Hymenaea family. So it could not be very far from Manilla copal and there aren’t good alternative at the moment. I tried Mexican copal and other transparent resins from South America or Egypt and so on, but they don’t dissolve in ethanol very well. Madagascar copal dissolves in Ethanol if it is left about 3 days in a warm room. The effect of fossilized resin and raw resin from live trees could make different quality varnish, especially the hardness.I always felt the surfaces of Best White Varnish of S&P (made with Manila or Kauri) are too soft to get good gloss even after a few weeks.
The biggest problem of Best White Varnishes, which I made with Manilla or Kauri, was, obvious clacks appeared within a few months and turned yellow very soon, even not exposed under sunlight. This might not be the reason of copal but other resins too. Seeing white varnished furniture such as a white clock in Museum fire Lackkunst in Munster, or Chippendale cabinets in the V&A, they don’t show such dirty yellow or cracks. Both are 18th Century British furniture and they must have been painted with different White Varnish. I think mixing too many different resins doesn’t work much or even giving bad effects.”
I agree with Miho that the S&P BWV is an inferior white varnish. It does not apply easily, is very soft and lightly cracks within a few months of application. However, I have to add that the boards I made in 1991 are in very good condition. The cracking did not continue beyond the initial stage and they now have a very hard glossy finish. It will be interesting to see how this batch turns out when Jonas gets to the application stage. I will add photographs of my old panels for comparison to the new ones.
Jonas Post Day 2:
Preparing the Seedlac varnish (continuation)
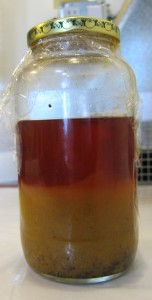
After picking the highest quality Seedlac pieces they were dissolved in alcohol. After one night dissolving the varnish separates into two parts, the upper part being the clearest. This part should mainly be used for the upper more transparent layers..
The bottom part of the dissolved seedlac has a brownish colour with lots of impurities and wax.
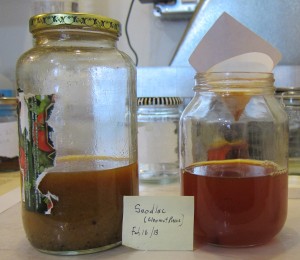
The bottom part of the varnish has also to be strained in a separate jar (fig 15).
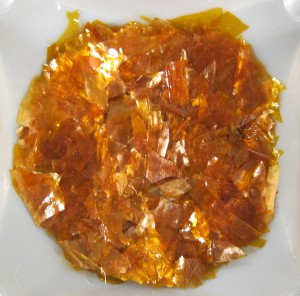
Shellac
For the shellac varnish the following agents are to be needed:
Alcohol (spirit)
Shellac
After measuring and weighing the components the Shellac is dissolved in the alcohol and afterwards it has to be strained on the same manner as mentioned above.
Preparing the white varnish (continuation)
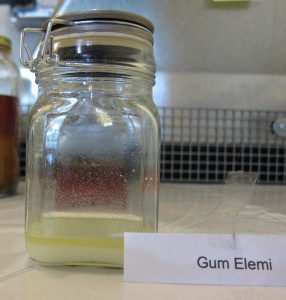
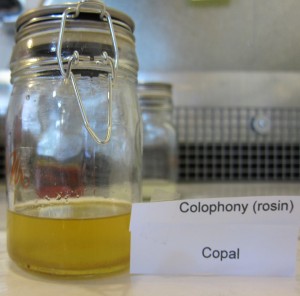
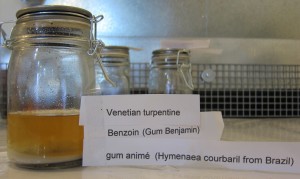
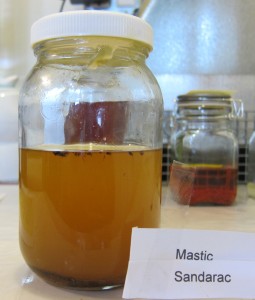
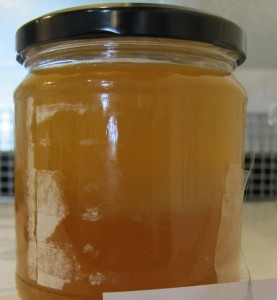
Yesterday the needed resins where put in alcohol to dissolve them in 4 separate bottles. The following pictures will show how these dissolve after one night. Many of them dissolve actually pretty well but there are some exceptions. The sandarac and mastic mixture did not dissolve completely after one day and 10 % remains on the bottom of the jar as a sticky substance. Also the Benzoin does not dissolve as well as the other compounds like the Sandarac, Copal, Gum animé, Rosin, Venetian turpentine and Gum elemi. Most of the Benzoin remains on the bottom of the jar like a spongy substance (fig. 17, 18, 19, 20).
The four separate jars with their dissolved resins were strained with a filter and a cloth that had to be squeezed out
Preparing Isinglass size (Stalker and Parker)
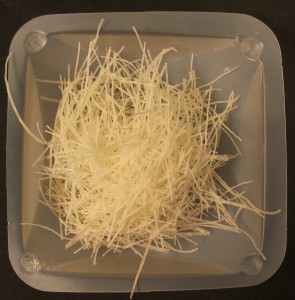
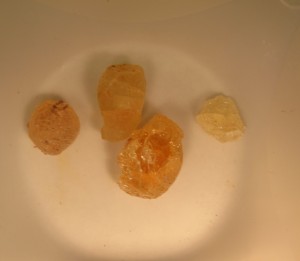
In several recipes in the Stalker and Parker book an Isinglass size is needed. Isinglass is an adhesive, which comes from the swim bladders of the sturgeon fish. The swim bladders are to be dried (fig 24). The collagen can be extracted by soaking small pieces in water and warm it to approximately 60ºC, afterwards it has to be strained before use. For our research the Isinglass size is needed to reconstruct the white and blue coloured varnish (Stalker and Parker). In the white coloured varnish the Isinglass size is to be used to mix with lead white pigment. In the blue coloured lacquer it is used to mix the smalt pigment. The reason they used Isinglass size is so that these light coloured varnishes would not be affected by the colour of the binding media. For this purpose also Gum water was also used.
For making the Isinglass size only two components where needed:
Isinglass
Water
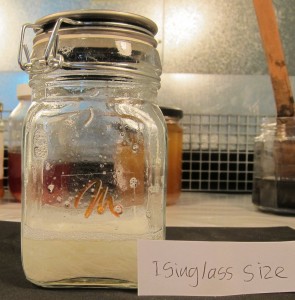
The Isinglass was soaked in the water and afterwards it had to be strained like mentioned above (fig. 25).
Preparing Gum water (Stalker and Parker)
To make the Gum water only two components are to be needed:
Gum Arabic
Water
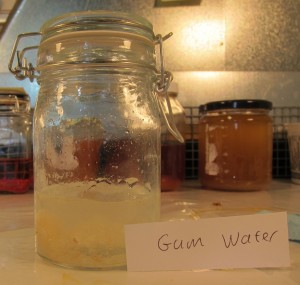
The gum water is used like the Isinglass size to mix light coloured pigments. Within our research it is used in the recipe to make a blue coloured varnish to mix the lead white in.
The Gum Arabic was first measured, weighed and afterwards pounded into fine powder. It was mixed into the water to dilute it (fig. 26, 27). Afterwards the gum water has to be strained on the manner explained earlier.
Preparing Yellow lacquer (continuation)
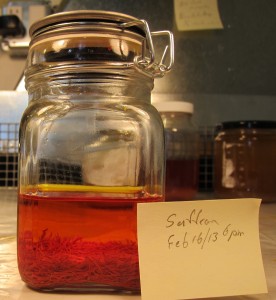
Today no further operations have been done on this recipe. The Saffron has to be soaked in the alcohol for 4 days. How the extraction process has progressed after one day can be seen in the following picture (fig. 28).
Reconstructing black lacquer (Stalker and Parker)
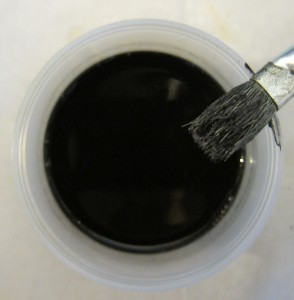
Having prepared the seedlac, the black lacquer is made by mixing vine black pigment into the seedlac. Like the recipe says “pour of some of the thickest seedlac varnish and put it in a galipot adding to it as much as Lamblack as will at the first wash blacken and discolour the work” In this case we used the thick seedlac from the bottom of the separated layers and mixed it with much vine black pigment (fig 29, 30).
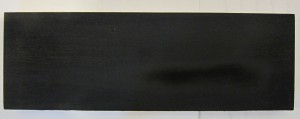
What arises is a thick black varnish, which rather looks like a paint leaving a mat surface due to the high concentration of black pigment. The main purpose of these first layers is to cover the surface in one strike with a black varnish. The sample board was varnished with this thick black lacquer three times permitting it to dry thoroughly between the layers in agreement with the original recipe. The following pictures show the sample board before and after application of the lacquer (fig. 31,32, 33)
Preparing a red varnish (William Salmon)
Today the preparations for this varnish where made because afterwards it has to be heated for a week. The recipe includes the following components:
Alcohol
Shellac
Dragonsblood
Cochenille (carmine red)
The Cochenille can be a confusing factor within this recipe because this is a dye.
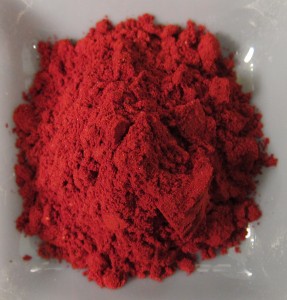
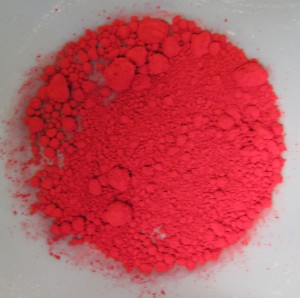
On the other hand dyes where used to intensify the red colour. Cochenille was used in the same way that wood extracts like Brazilwood, fernwood were used. Cochenille or Carmine dyestuff was mostly used for precious decoration(1). The confusion is that the two names were frequently used as a synonym for each other whereas the two differ from each other. The Cochenille is dyestuff extracted from the Cochenillelous Dactilopius coccus. Carmine is a lake, chalk coloured by Cochenille dye and is a pigment. In this context it could either be the lake pigment or a dye. There is another reason why they would use the dye instead of the lake pigment. The main component for red lacquers Cinnabar or Vermilion will darken when exposed to light. Cochenille dye was used historically in transparent lacquer to act as a protective layer although now we know that it is not very light fast. Within this recipe there is no Cinnabar used so there is no direct need why they should have used the Cochenille dye. We chose for this red lacquer the Carmine lake pigment because it was readily available.
Walch, Katharina. Baroque and Rococo red lacquers “The red lacquer-work in the Miniaturenkabinett of the Munich Residenz. Replicating the technique on the basis of historic sources and scientific investigation”. in Baroque and Rococo lacquers. Bayerisches Landesamt für Denkmalpflege, München 1997.pag. 131.
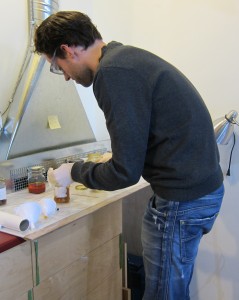
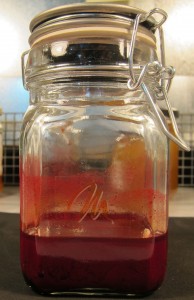
Because of the expensive materials used in this recipe we used 5% of the original amounts. All the components measured and weighed (fig. 34, 35, 36), then they were mixed together with the shellac in the alcohol (fig 37). After heating the varnish for a week it should have blood red colour.

