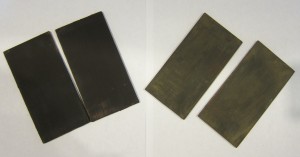
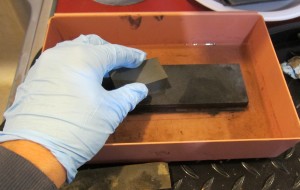
In 1995 I had pleasure of a brief stay at Murose, Kazumi’s studio in Tokyo to learn the basics of lacquer work. It was a very intensive time and several colleagues each undertook parts of my education. I had brought with me sample boards I had made on my own that had several problems. They gathered around to look at them.
The pronouncement, “Not flat Marianne san.”
So began my lesson on grinding.
I learned about the artificial stones for the ground layers and which charcoal to use for different stages of the finish layers. I set to work. After hours of grinding to fix my boards, one of my colleagues who was also grinding another project leapt up and said” Urushi is… is….”. Then she ran for her dictionary. Flipping through the pages she announced. “Urushi work is drudgery.” We all laughed.
I whole-heartedly agree with her. Of all the tasks involved in making these boards, grinding, abrading, leveling, polishing, smoothing, buffing, and rubbing takes the most time. To simply level and smooth the ground layers is taking about fifteen minutes per small board. I consider that quite fast.
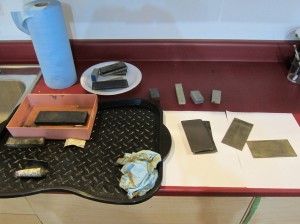
I set up my workstation next to the sink. I used a boot tray to contain the mess. Here is the process I am following.
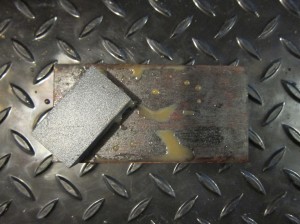
1.To begin I am using 220 grit wet sandpaper wrapped around a polishing stone. I found it was better to start with the disposable sandpaper to quickly remove rough bits and high ridges. I had started with my 400 stone but any sharp raised bits caused scratches in the stone.
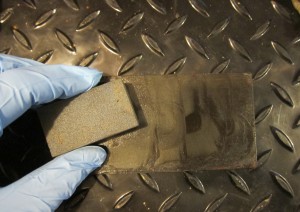
2. I levelled the board by grinding with Japanese ‘400’ crystal stone. This could also be done with a 320 grade wet sandpaper.
3. I wiped the brown slurry off the surface to see the progress.
4. If ridges had been removed I proceeded to 1000 grade stone. If if needed more levelling I switched to a 600 stone to continue with more control.
5. Wiping surface and grinding was repeated until the surface was smooth and level.
6. Boards were then washed to remove all loose material.
7. Boards dried.
8. Boards wiped with a damp cloth to remove final traces of loose dust.
9. Boards dried.
Other tips.
* Your forearm should be level to the surface of the board for even pressure. I tend to use too much force but it is better to let the abrasives do the work both for your arm and the board.
* Grind in alternating small and large circles and proceed over the whole surface to ensure even coverage. Grinding in straight lines down the length of the board tends to be uneven, resulting in a ‘not flat’ surface.
* Use small stones so you can stay within the size of the board. You want to avoid overworking the edges to prevent sanding through to the wood.
* If you get scratches in your polishing stones you can use a whetstone to remove them.

